Business
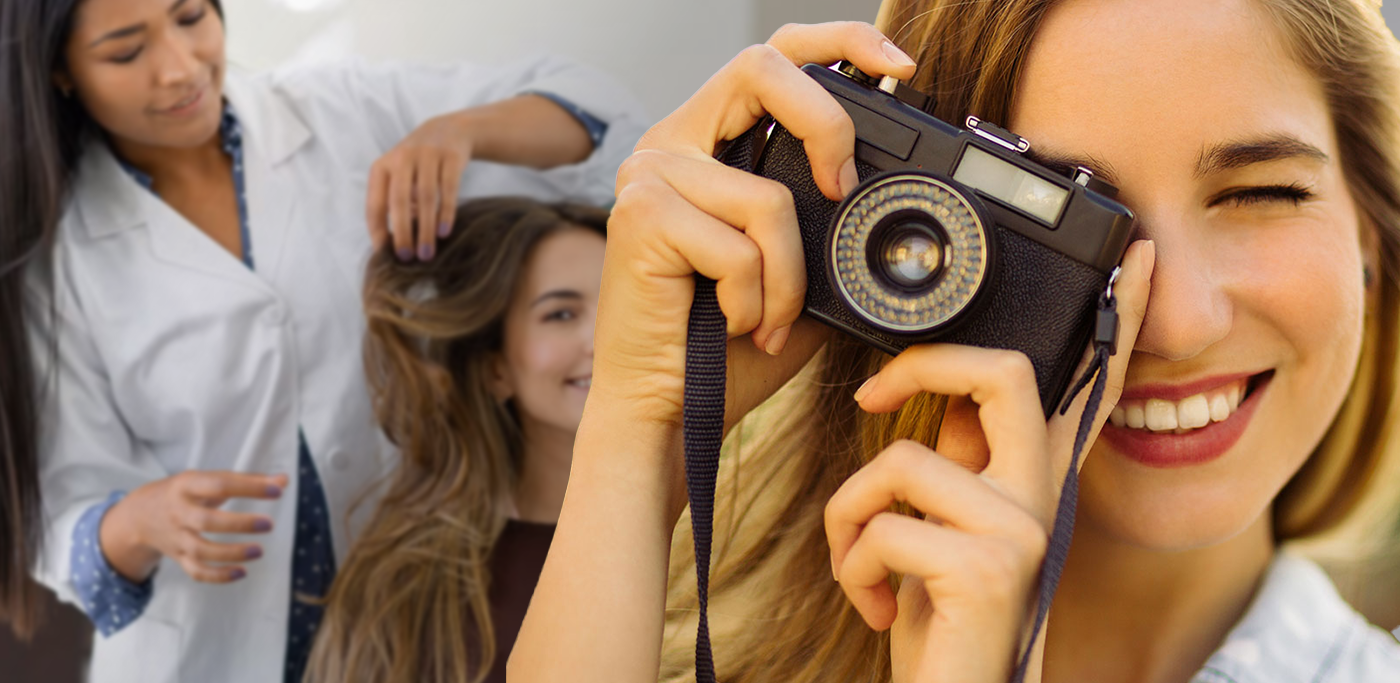
Stunning Snapshots – Taking Perfect Before and After Shots
Mar
It’s only natural to want to show off the brilliant work that you do and the stunning transformations that you create. Taking a before and after shot of your client (with their consent, naturally) is a great way to demonstrate what you can do and can be shared all over your social media and on your salon’s website. It’s important, however, to take good before and after pictures. Even the best, most beautiful transformation could lose its luster if the photos taken to show them off are dull, drab, or poorly framed. Here we’ll look at some steps to consider when taking these photos and how to make them really pop.
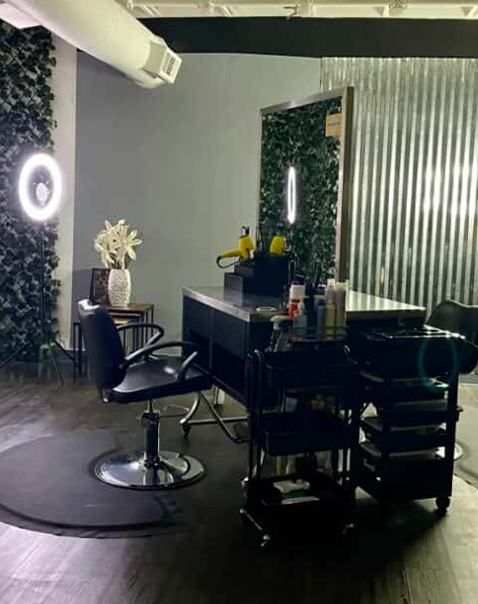
ALWAYS USE THE SAME SETUP
Using the same setup for all your before and after photos not only gives your work a sense of consistency but also allows you to fine-tune the process so that your results are also consistent. Setting up a space in your salon where your photos can be shot allows you to keep things smooth and clean with every picture.
SHOOT FROM MULTIPLE ANGLES
Not everyone photographs quite in the same way, so shooting from multiple angles both before and after the transformation gives you many more options to pick from when putting together the final product. Sometimes what looks like a great angle doesn’t look so hot when reviewed later so having many options from the start is a great idea.
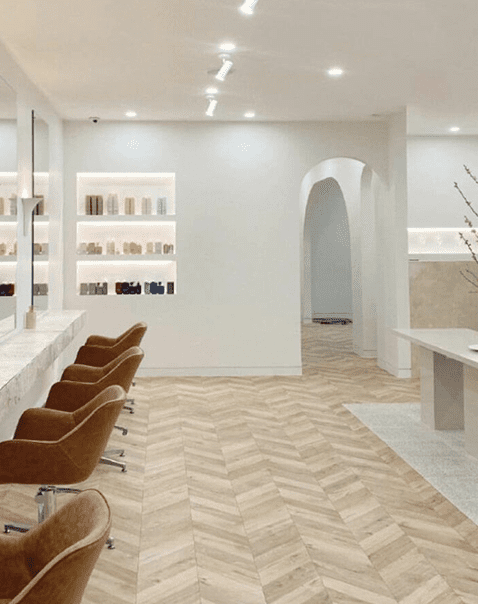
CHOOSE A NEUTRAL BACKGROUND
Taking pictures in front of your workstation or in the waiting area of your salon might seem like a good idea to give the area a lusher backdrop but that can take away from the visibility of your client. Distracting objects or vibrant colors can muddy the results and compromise visible clarity.
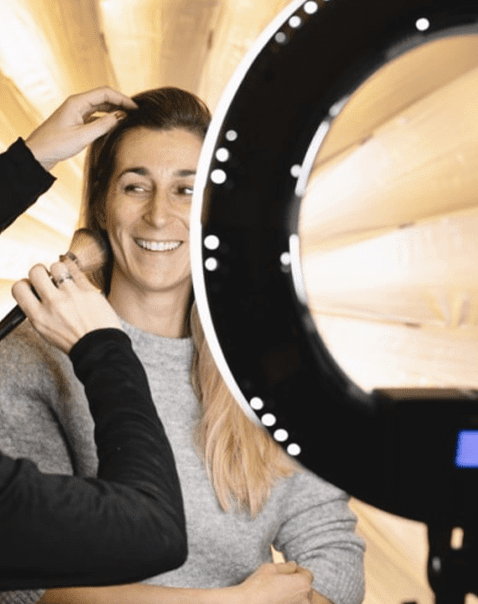
USE NATURAL LIGHTING
Setting up lighting that exists behind the camera (either with a tripod light or some other kind of direct or indirect lighting) helps to avoid dull, darker photos and allows you to produce more realistic and clear results.